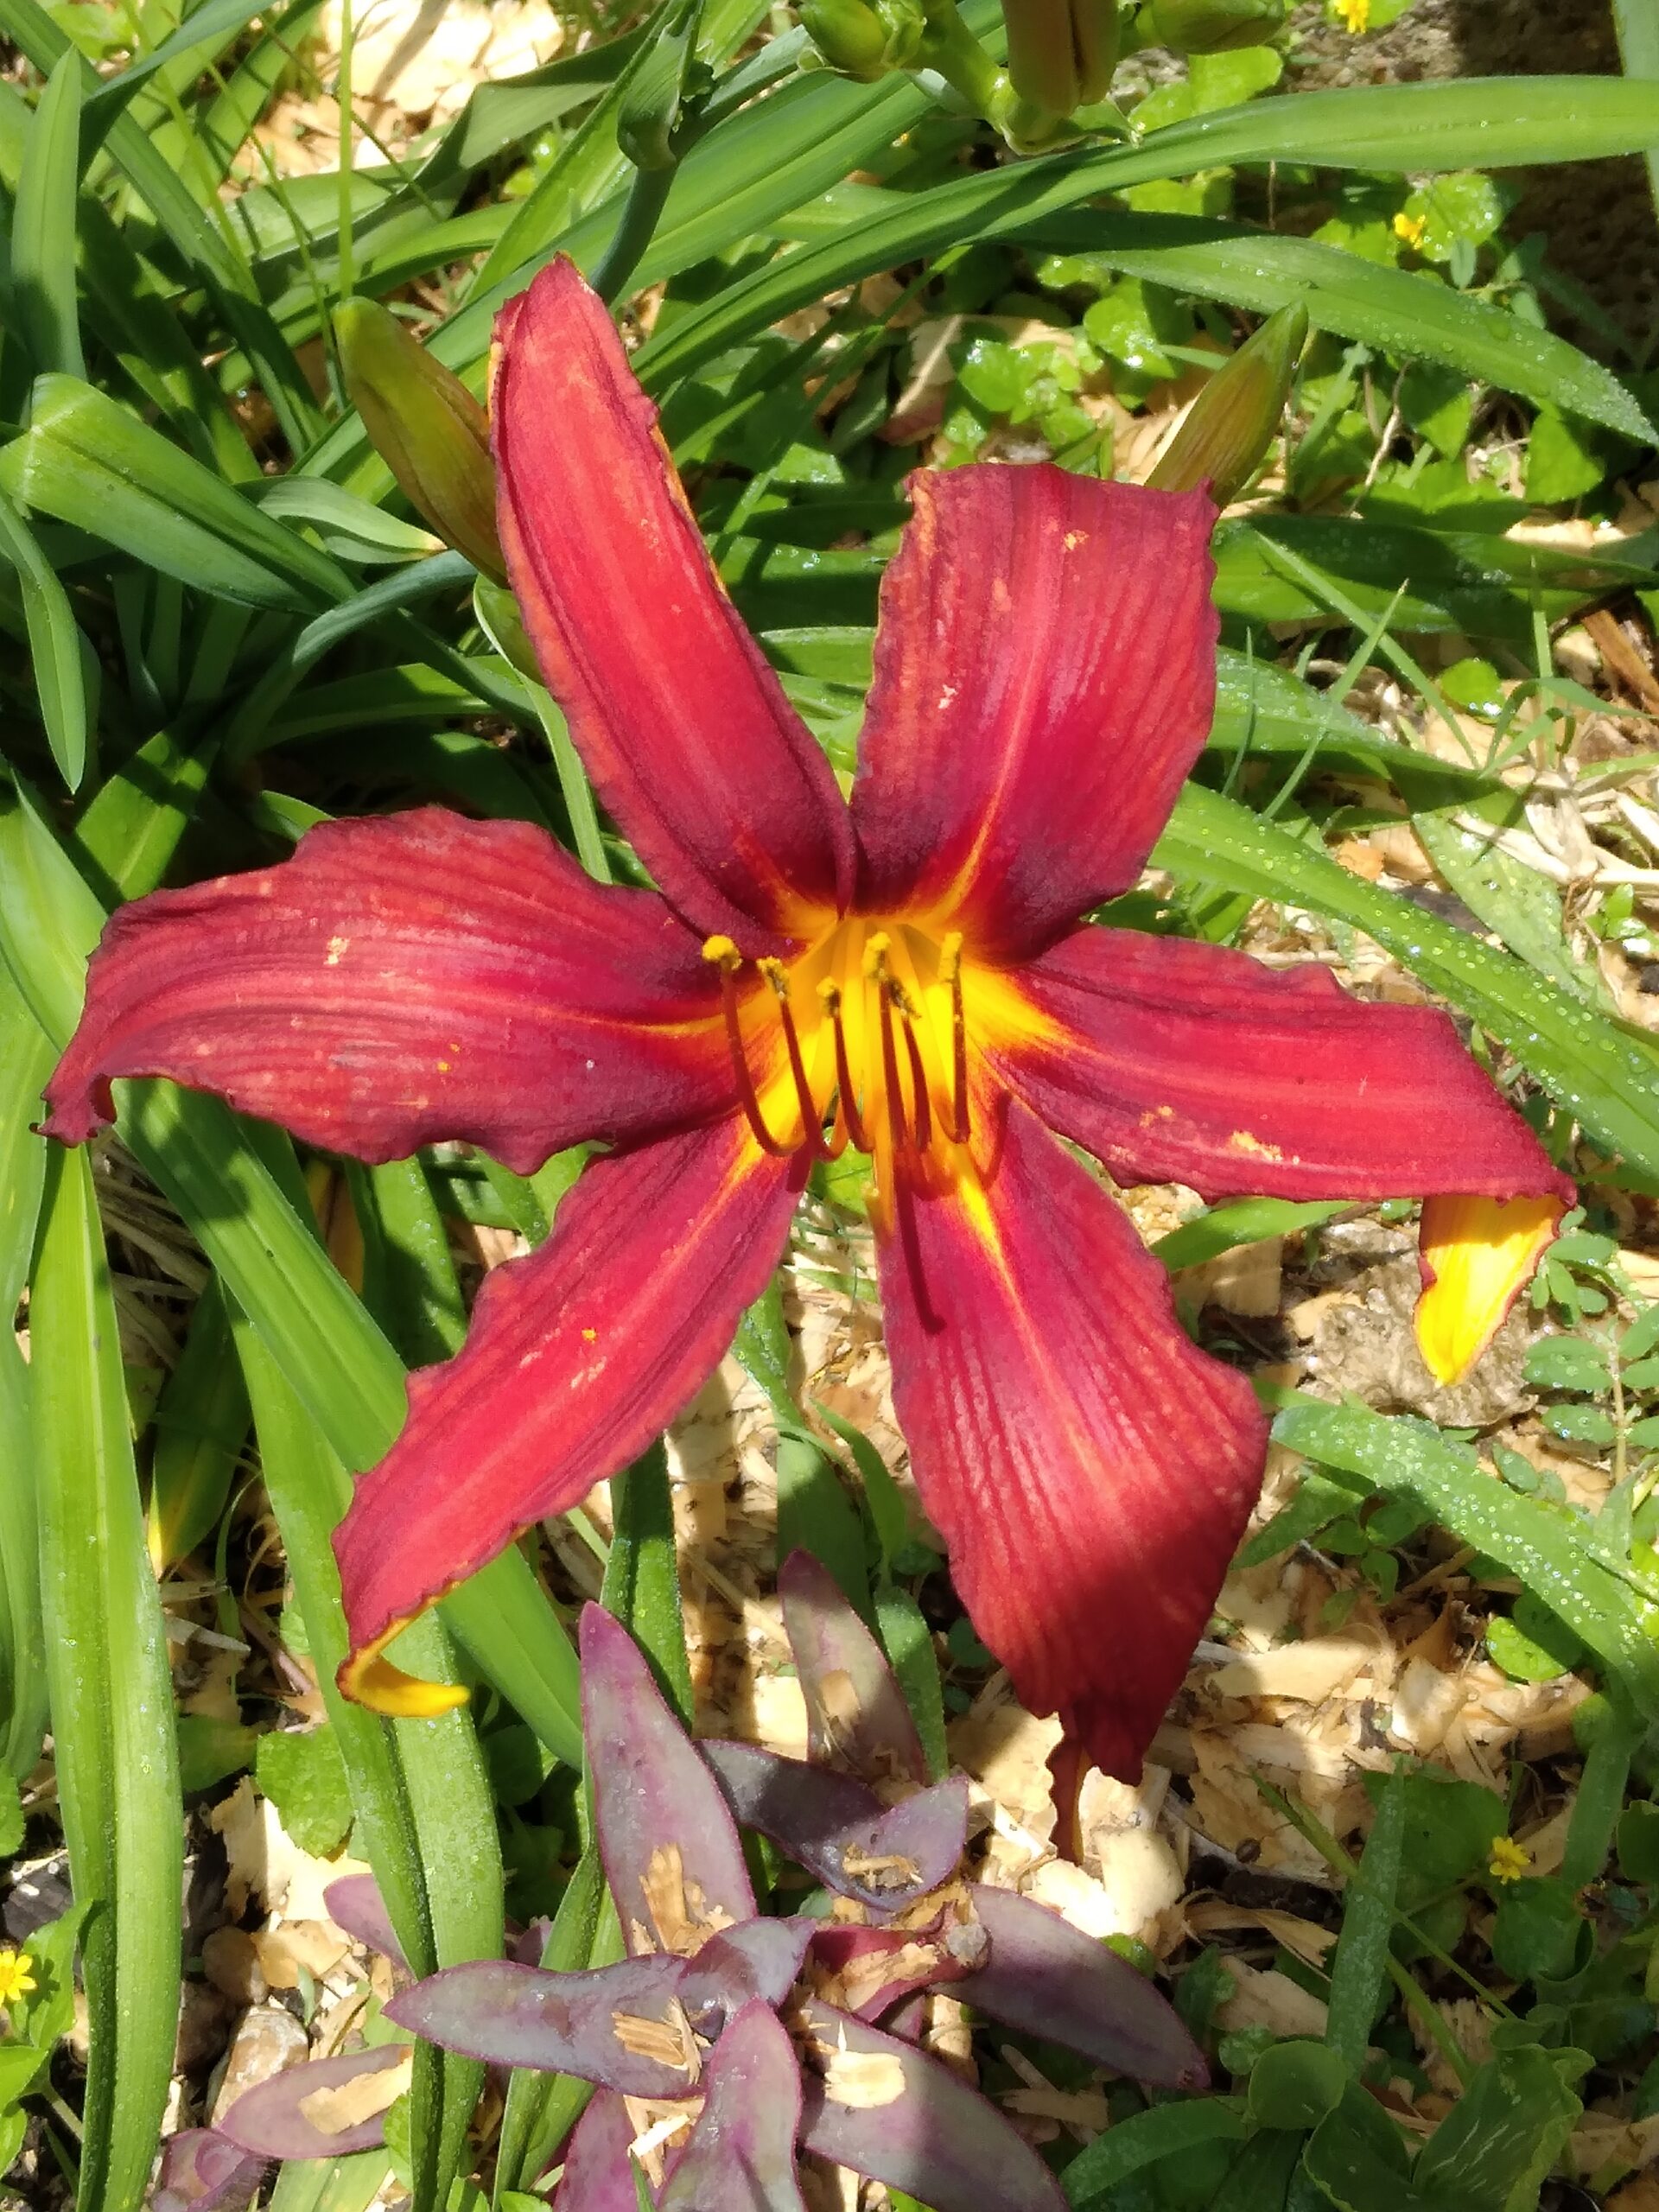
Growing daylilies is a relatively easy and rewarding process. Here’s a step-by-step guide to help you grow daylilies successfully:
1. Choose the Right Location:
– Daylilies prefer full sun but can tolerate partial shade. Choose a location with at least 6 hours of direct sunlight per day.
– Ensure well-drained soil. Daylilies can adapt to various soil types, but they thrive in fertile, well-drained soil.
2. Planting:
– Plant daylilies in the spring or fall. Spring planting allows the roots to establish before the heat of summer, while fall planting allows the roots to grow before winter.
– Dig a hole large enough to accommodate the roots without bending or crowding.
– Place the daylily in the hole with the crown (where the roots meet the foliage) at or slightly above the soil level.
– Space plants about 18-24 inches apart, as daylilies can spread and multiply.
3. Watering:
– Water newly planted daylilies regularly to keep the soil consistently moist until they establish, usually for the first few weeks.
– Once established, daylilies are quite drought-tolerant, but they will perform best with about an inch of water per week during the growing season.
4. Mulching:
– Apply a layer of organic mulch around the base of the plants to conserve moisture, suppress weeds, and regulate soil temperature.
5. Fertilizing:
– Daylilies are not heavy feeders, but they benefit from an application of balanced fertilizer in early spring.
– You can use a slow-release granular fertilizer or a well-balanced liquid fertilizer.
6. Deadheading:
– Remove spent flowers regularly to encourage continuous blooming and prevent the plant from putting energy into seed production.
7. Division:
– Daylilies can become crowded over time, leading to reduced blooming. Divide them every 3-5 years in the spring or fall.
– Lift the clump, separate the individual plants, and replant them with adequate spacing.
8. Pest and Disease Control:
– Daylilies are generally hardy and resistant to pests and diseases. However, keep an eye out for aphids, thrips, and spider mites.
– Provide good air circulation and avoid overhead watering to prevent fungal diseases.
9. Winter Care:
– In colder climates, apply a layer of mulch around the base of the plants in late fall to protect them during winter.
10. Enjoy the Blooms:
– Daylilies come in a variety of colors and forms, and they bloom throughout the summer. Enjoy the beauty of the flowers and the low-maintenance care they require.
By following these steps, you can grow healthy and vibrant daylilies in your garden.
Follow us on Instagram for more gardening information.

